Lab01 : Creating Your First Cluster
Creating your first cluster with a basic experience can be a bit challenging. Also, it is very dependent on your machine's hardware, because you need good RAM and memory to get started with Minikube or Kubeadm installation. If you have already activated your sandbox, please skip this lab. In case you are still struggling, then this is a step-by-step guide to help you activate your first cluster without a cost and depending on your hardware.
Before you begin, make sure you meet the following requirements:
- GitHub Account: If you do not have a GitHub account, please create a free account before starting with the sandbox. This is essential for accessing the Kubernetes Sandbox environment.
- Please ensure that no additional tabs are open to guarantee optimal performance. It is also important to verify that you have a stable internet connection.
- We highly recommend using Google Chrome.
Activate Your Kubernetes Playground (Cloud Solution)
If you already have an active Kubernetes Playground, please skip this step. In case you don't, please click the button below:
Kubernetes SanboxWhile conducting experiments, I found that Codespaces sometimes became slow. This issue was related to low memory and CPU, as well as poor internet connections. If you encounter any similar issues, try to ensure you have a good connection or consider refreshing your Codespace session.
Creating a Cluster
After opening the terminal and ensuring your connection is stable, you can initiate the creation of a control plane and node by entering the following command:
make create
Checking the Node
After successfully executing the make create command, you can verify the status of the node by using the following command:
kubectl get nodes
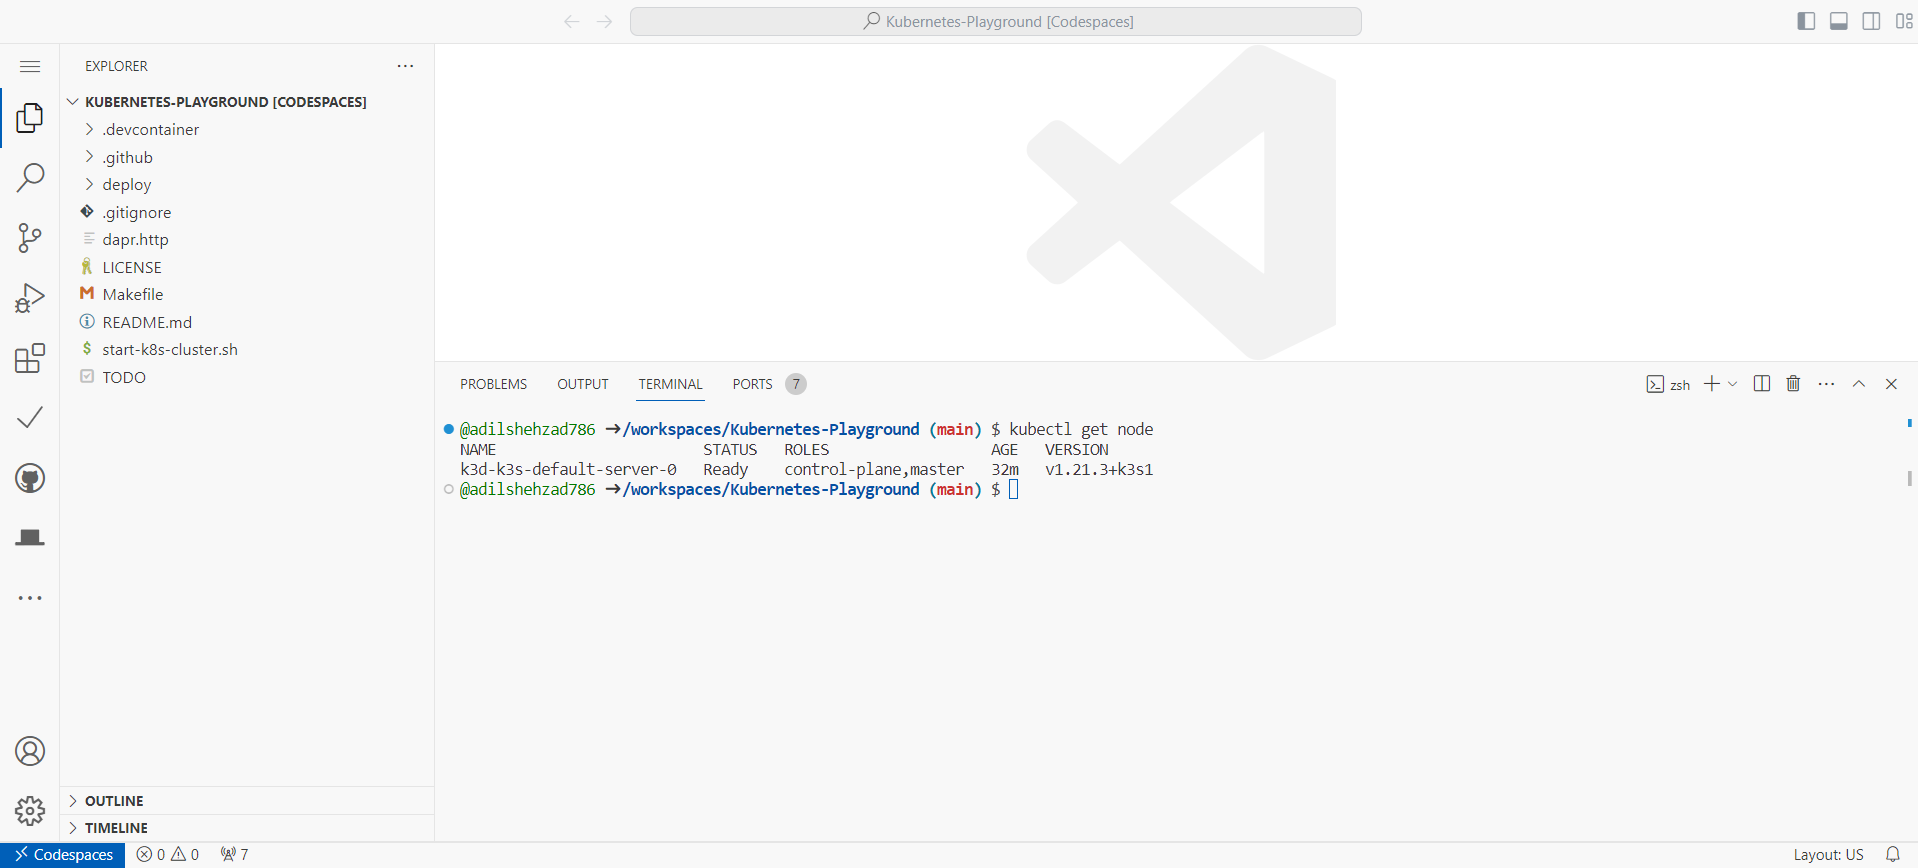
This command will provide an output similar to the example below, showing the status, roles, age, and version of your nodes:
@adilshehzad786 ➜ /workspaces/Kubernetes-Playground (main) $ kubectl get nodes
NAME                       STATUS   ROLES                  AGE    VERSION
k3d-k3s-default-server-0   Ready    control-plane,master   3m6s   v1.21.3+k3s1
This output indicates that your Kubernetes node is ready and functioning correctly within the specified roles and version.
Upon execution, the process should resemble the screenshot below:

- Congratulations, you have successfully completed Lab 01. Now it's time to deploy your first app.